Schedule:
- Elements of Design:
- Form
- Drawing Exercise: Color Wheel
- Project 1 Introduction: Character
- Work Session: Project 1
Assignments:
- Reading: Manovich pp 18-48 (Chapter 1)
- Individual Work: Project 1 & Assignments
Announcements:
- none at this time
Time Wasters:
- TBD
Elements of Design
Form
Form - an element of art that is three-dimensional and encloses volume; includes height, width and depth (as in a cube, a sphere, a pyramid, or a cylinder). Form may also be free flowing, and can be made from combining 2D shapes in space.
When working with vector graphics, how might one explore form? Our work is generally done in 2D space. The illustrations and graphics we create might reference or allude to an objects form.
Drawing Exercise: Illustrator Color Wheel
As we become more comfortable with our software tools and design principles, we should begin to focus some attention to how color displays. Although every display doesn't treat color exactly the same way, we can still approach the use of color as an important aspect of how a digital drawing functions aesthetically. The beginning of this is to look at some color systems.
Illustrator is geared towards Print Design - its primary industry use. Because of this it is set up to handle CMYK Color. CMYK is a subtractive color system that comes from physical print proceses where ink is layered on paper. It stands for Cyan Magenta Yellow Black - when you add Cyan/Magenta/Yellow then you will get black. A typical screen display or website is geared more towards RGB Color. RGB is additive color - where adding colors together will become white. It stands for Red Green Blue and is more related to how we see light.
We will create a color wheel in Illustrator that uses CMYK color. A demonstration and walk through will be given in class as you work on your color wheel.
- Horizontal/Landscape Document
- 12 small squares, evenly distributed at the bottom
- Fill Primary Colors in every third square (Red, Yellow, Blue)
- Some CMYK values will be given in class
- Fill Secondary Colors by calculating CMYK values
- Fill Tertiary Colors by calculating CMYK values
- As part of the exercise, try to figure it out without using color guides or swatches
- Label and Lock your color swatches layer
- Create 2 concentric circles centered on the page
- Select both circles and Exclude with Pathfinder tool
- Create a line from top to bottom, use Align tool to center
- Duplicate line path from the Layers Panel
- Rotate line path 30%
- Repeat Duplicate/Rotate until you have 12 sections (like a clock)
- Group all lines
- Select lines group and circles, then Divide with Pathfinder tool
- Direct select each shape and fill with eyedropper from your swatches
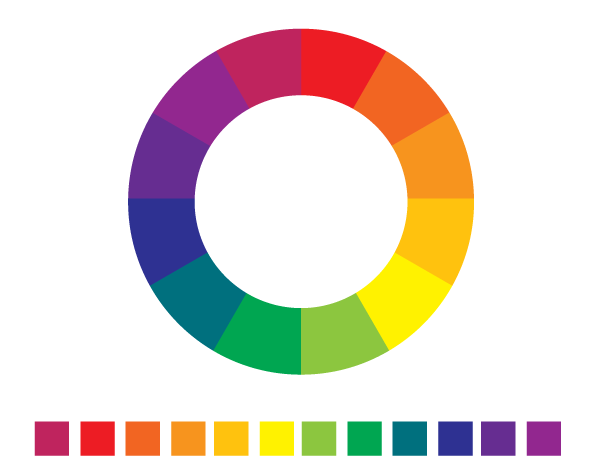
Following the exercise, try opening the Color Guide Panel and selecting one of your colors. You will see that the color is displayed as a swatch with other colors that relate to it in different color systems. Color systems are often chosen to create a sense of harmony in a design. Colors that don't work together visually usually create tension or disharmony. Three color systems of note for us this semester are : Complementary Color, Analagous Color, Monochromatic Color. Other tools for examining color systems are Adobe Kuler and Color Lovers.
Other Misc Fill Info

- Backgrounds and Pattern
- Under Swatch Libraries - Graphic Dots etc
- Become a "Fill" that is more than just solid fill color
- Commonly used for Texture or Pattern overlay
- Transparency or Blend Modes to adjust appereance
- Or create own solid color shape and repeat in background
- Consider how composition can relate to portrait
- Object - > Pattern - > Make : to create a pattern swatch from whatever shapes are selected
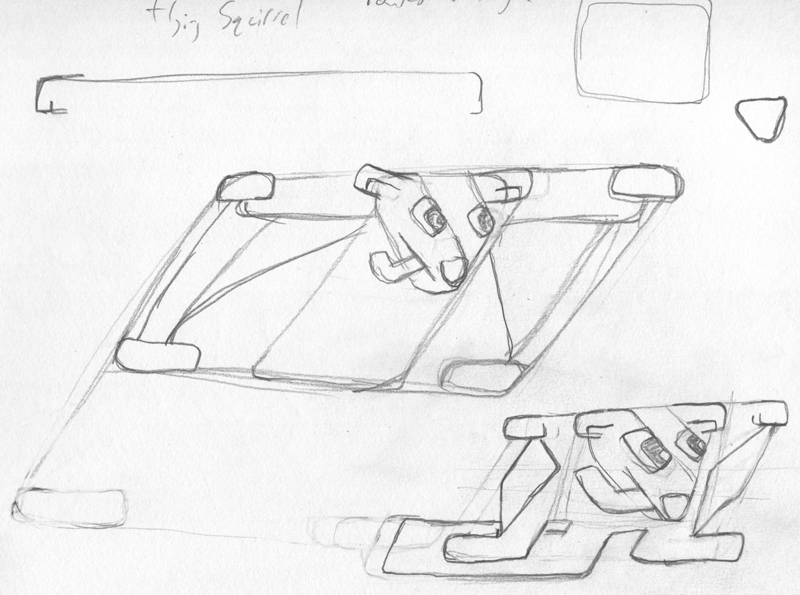
Project 1 Introduction
Please review and refer to the updated project description on the Project 1 Page. Project one will be spread out over a few work sessions. There will be a some opportunities for feedback including and critique. It is likely that some work will need to be completed outside of our class work sessions. You are encouraged to do more than the minimum requirement and then select the best work for submission.
- Character Based on Basic Shape and Basic Element
- Sketches, Drawing, and Concepting
- Develop your ideas visually
- Preliminary work for in-progress critique due next class
- Sketches and Thumbnails in Sketchbook
- 12+ Different Concepts/Ideas


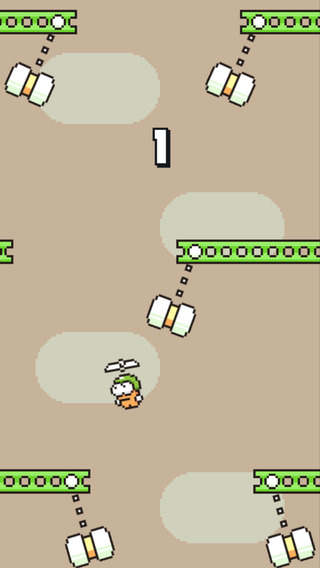
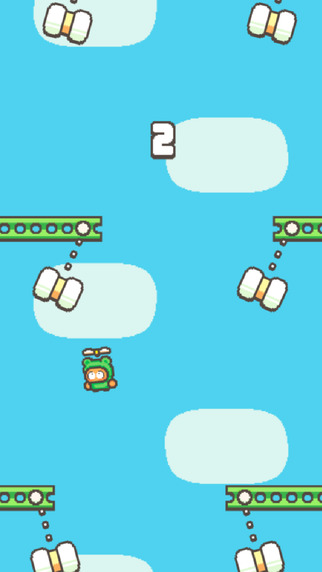
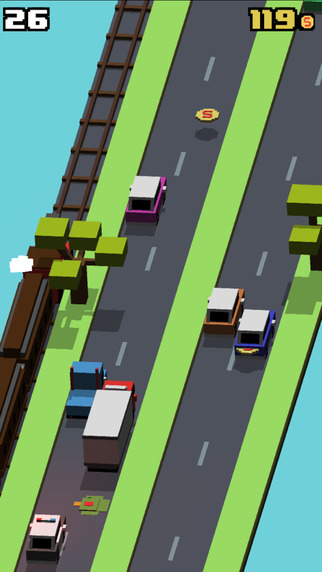
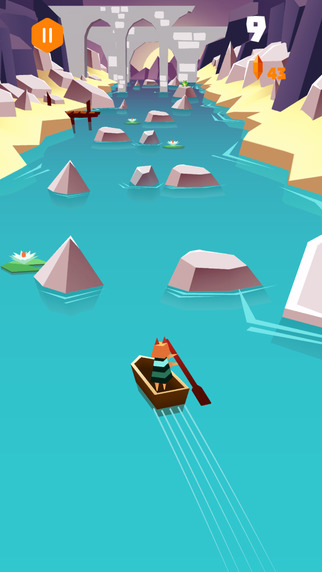
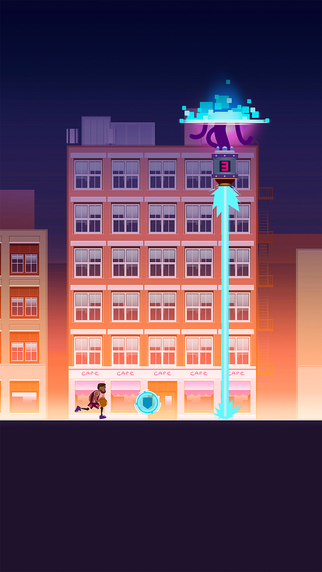
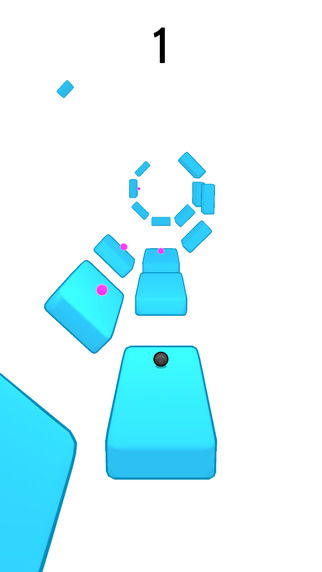
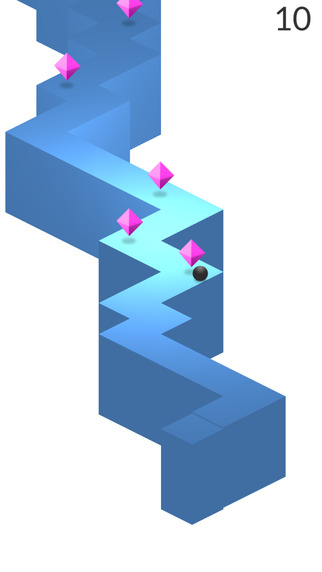
Some Project 1 References: Tapping, "Flappy Style" or Similar Mechanic


Work Session: Project
During the remainder of the class session, students are expected to work individually. This work session should be used to focus on Project 1. Projects are designed to help develop and refine skills in creating vector graphic artwork. There is a limited amount of time to complete projects, and so it is important to focus and work efficiently. Ask questions if you need help. The work should be done individually but that doesn't mean in complete isolation. Our studio work time is designed to allow discussion, feedback, questions, assistance, and anything that will help support you in developing your ability to create vector graphic artwork.