Friday, June 2
- Class 4
- Drawing Exercise - Sketches, Basic Shape
- Vector Shape Build and Pathfinder Demo
- Symmetry and Stylization
- Intro Project 1: Character
- Break
- Class 5
- Continued Intro Project 1
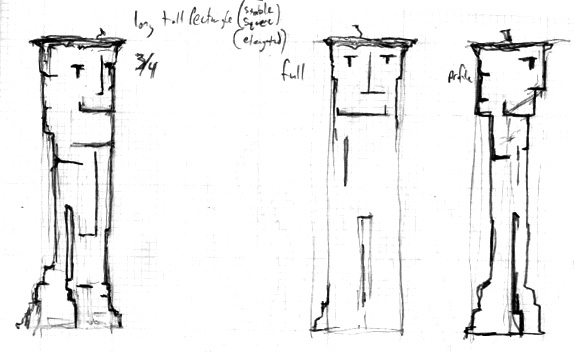
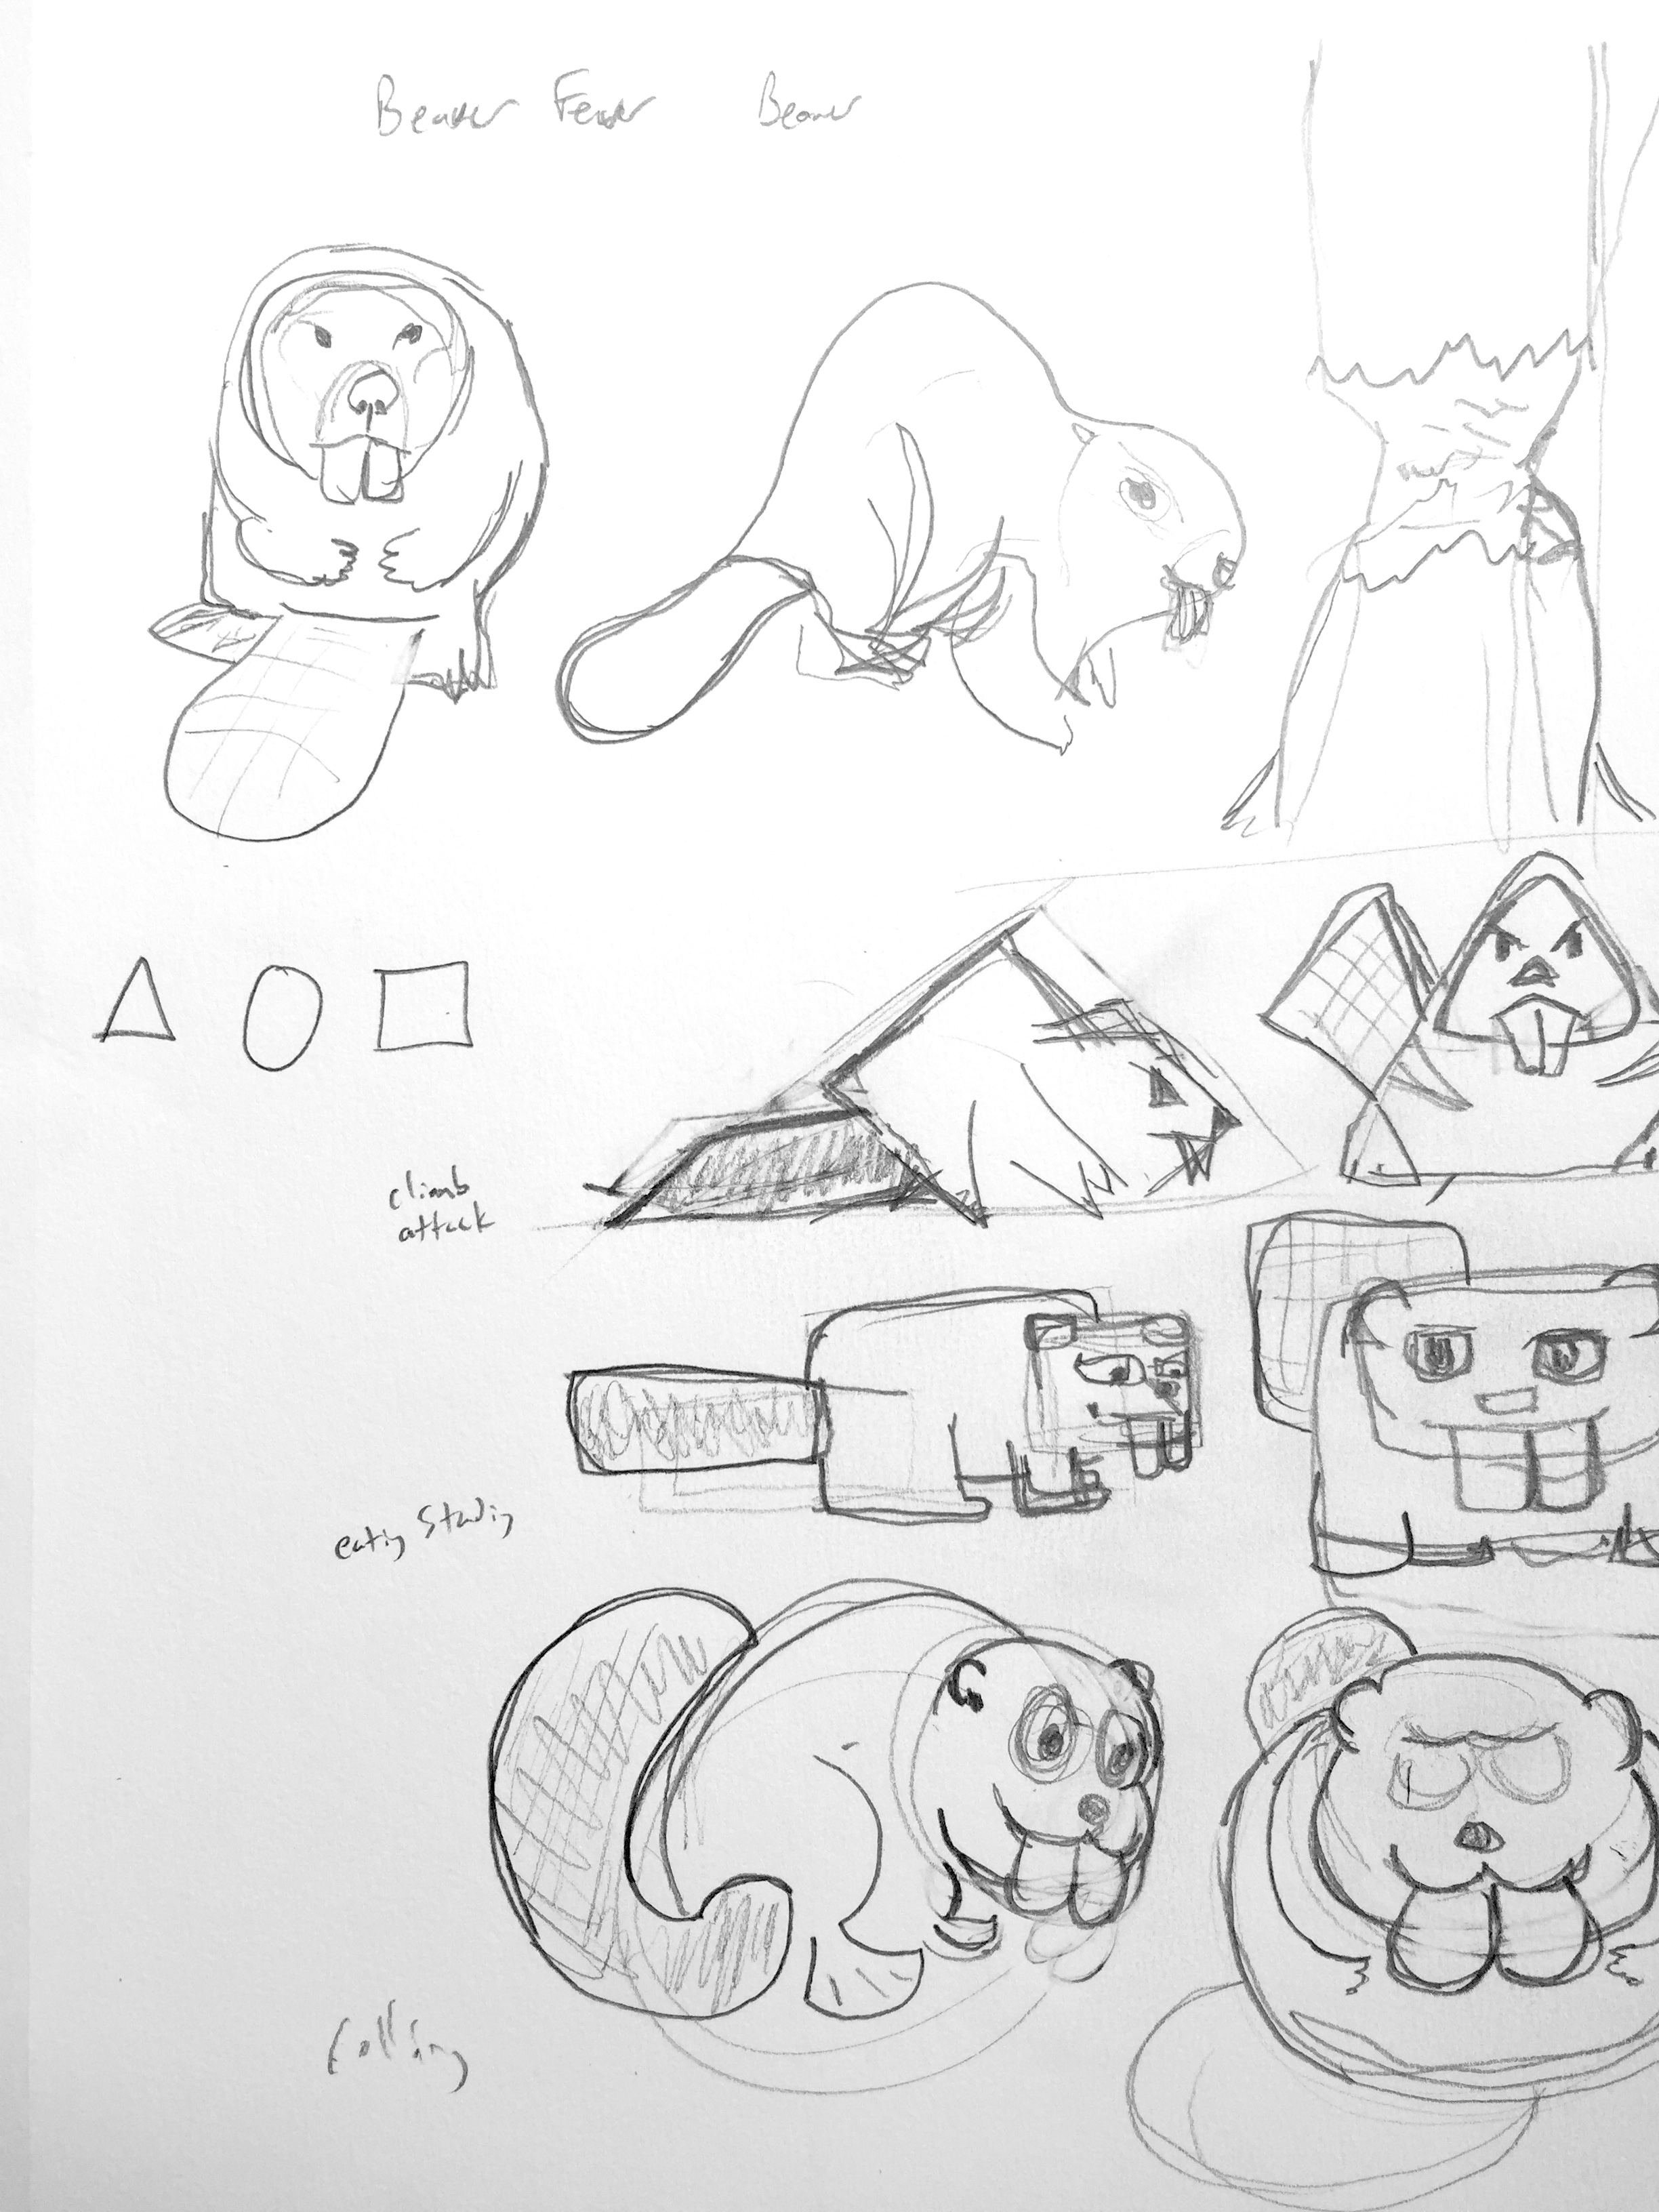
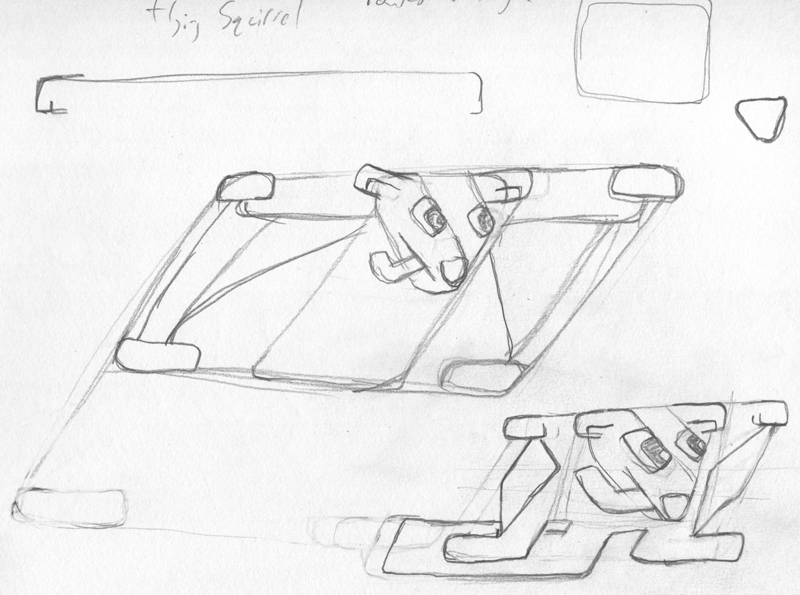
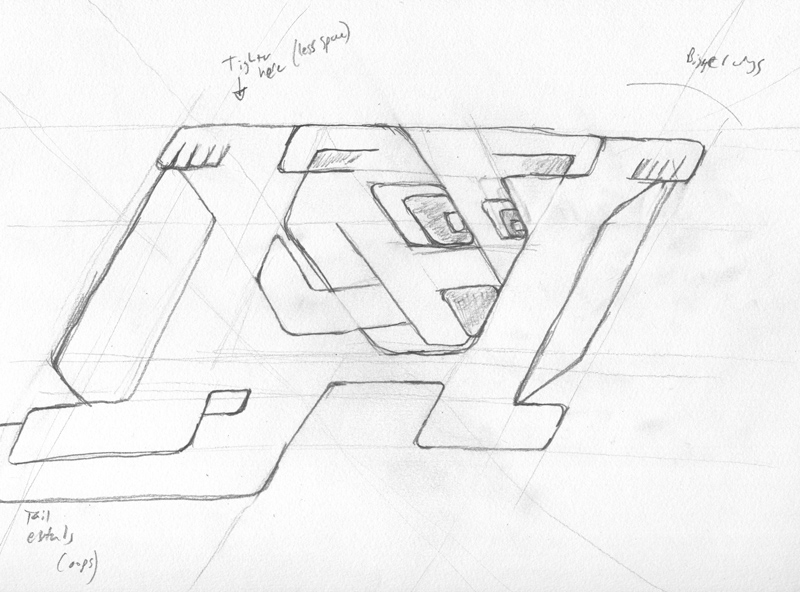
Drawing Exercise- Basic Shape and Character Form
- Project 1 Sketches
- Break
- Class 6
- Drawing Exercise: Expression Grid
- Project 1 Demo and Work Time
- Project 1 Sketches - In Progress Discussion/Feedback
- Assignments:
- Review: Aesthetics of Game Art and Design
- Project 1 Character Sketches and Development
Class 4
In Class Drawing Exercises
- Sketching
- Blind Contour
- Thumbnails
- Composition Studies
- Basic Shapes
- "Stylized"
- Refer to reading: Aesthetics of Game Art and Design - Solarski (6 pages total)
Point-By-Point & Shape Build Exercises
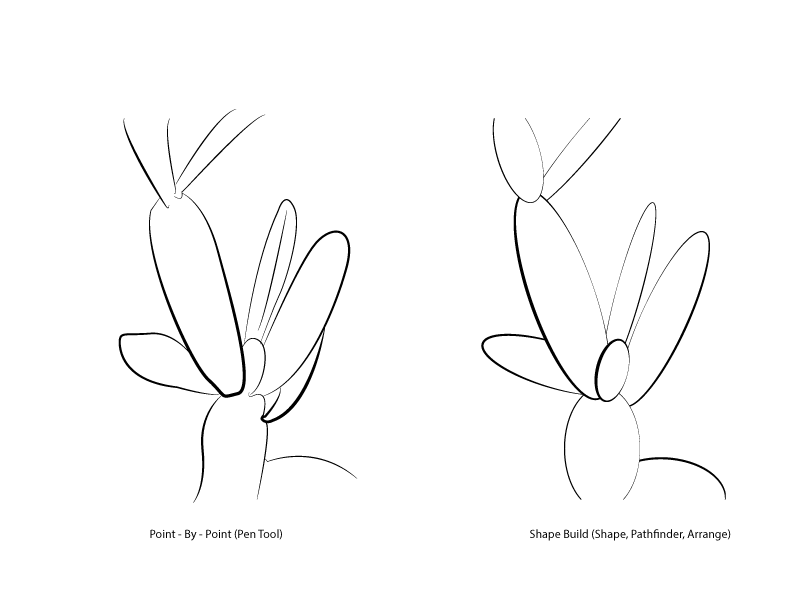
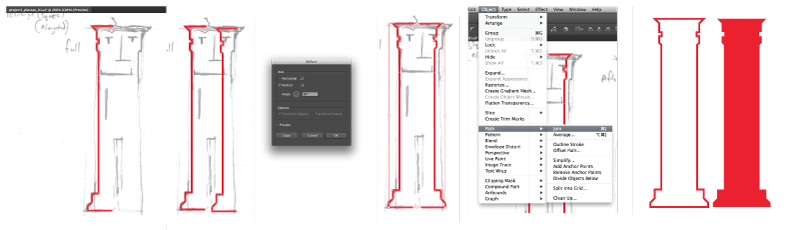
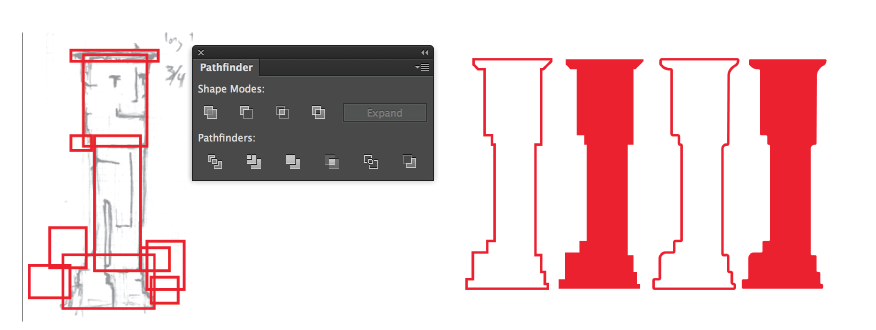
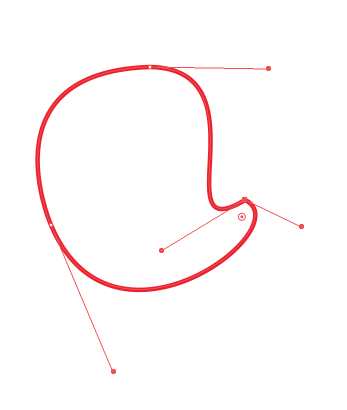
We have used the Pen Tool to create a "Point-By-Point" drawing with vector graphics. Another method for drawing with vectors is to use the Shape Tool and Pathfinder Panel. The Pathfinder is a way of creating complex paths from simple ones. It takes some practice to get the hang of, as does the Pen Tool. In class we are introducing them side-by-side because they can work together or separately while both offering efficient ways of creating paths.
Continue drawing today by practicing the Point-By-Point method. Use the Pen Tool to trace your sketch. This vector drawing method is very useful once you learn by experience where the best position for your anchor points should be. "Prime Point Placement" refers to the ideal location for an anchor point that allows you to create vector graphics that are efficient, accurate, and aesthetically pleasing.
Samples for drawing should be from observation in class, including our earlier sketches. There will also be a few example images that you can load and use as reference images for this exercise.
A rough demonstration will be given in class. You may follow along if desired, but you will also have time later to put the concepts into practice on your own. Our work session will be open ended and your work will not be collected. Consider any extra time as room to practice, experiment, and/or catch up on the processes we have introduced so far.
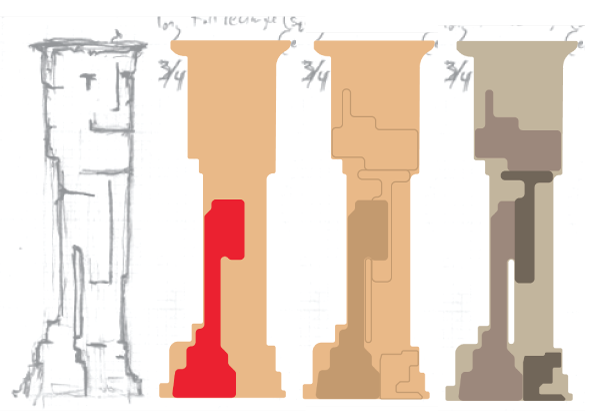
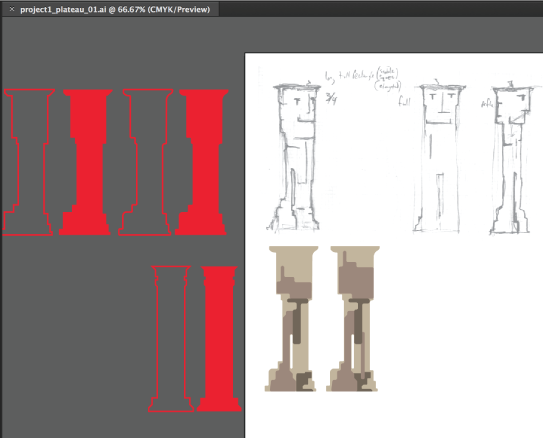
- Using a hand-drawn sketch as a template, Shape Build will create a "stylized" version
- Shape Build takes advantage of vector graphics characteristics through simplified form
- Layer or draw shapes in logical order
- One shape will "Cut" or "Punch" out from the other
- Mix and Match, Reorganize layers as needed
- Create as many shapes as you think are necessary
- Duplicate, Copy/Past, Past In Place when possible
- Stylized and simplified forms benefit from Symmetry, Balance, and Pattern
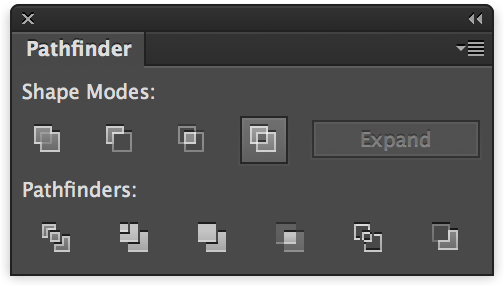
- Unite
- Minus Front
- Intersect
- Exclude
- Divide
- Shaper Tool
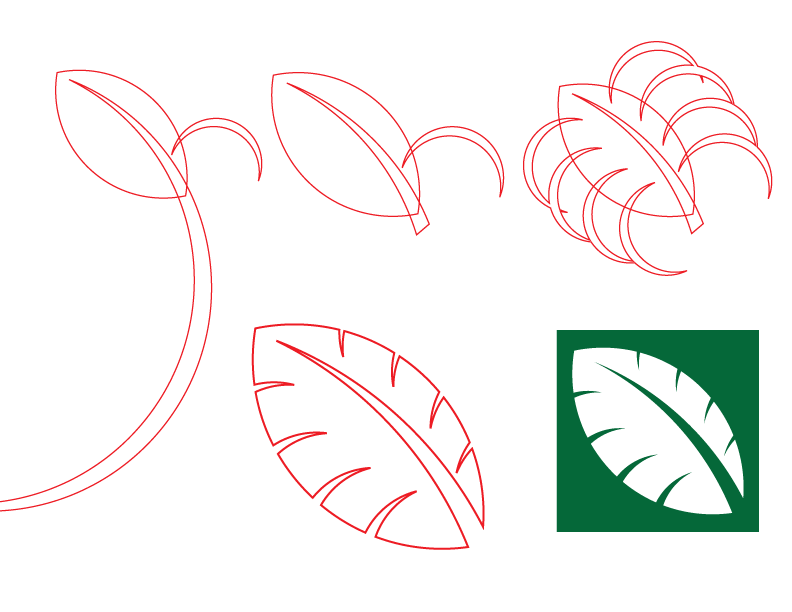
Use only Vector Shape tools to create a stylized graphic of your subject. The above "Leaf Icon" illustration might be a good example to consider. Your sketch should follow the work you did earlier using the Pen Tool. Spend as much time as you need to refine and develop the graphic. The work will not be collected. We will use both "Point-By-Point" and "Shape Build" processes throughout the semester.
Project 1 Introduction
Please review and refer to the updated project description on the Project 1 Page. Project one will be spread out over several weeks. There will be a few opportunities for feedback including at least one formal "In-Progress" critique. It is likely that some work will need to be redone or redeveloped and that your work is flexible with feedback and questions. With additional time - it is expected that students continue refining and exploring visually by creating more work. You are encouraged to do more than the minimum requirement and then select the best work for submission.
- Character Based on Basic Shape and Basic Element
- Sketches, Drawing, and Concepting
- Develop your ideas visually
- Preliminary work for in-progress critique due next class
- Sketches and Thumbnails in Sketchbook
- 12+ Different Concepts/Ideas


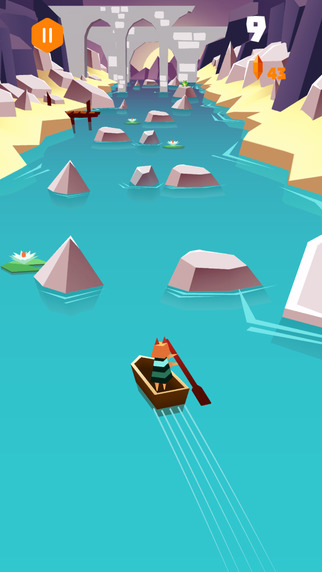
Some Project 1 References:
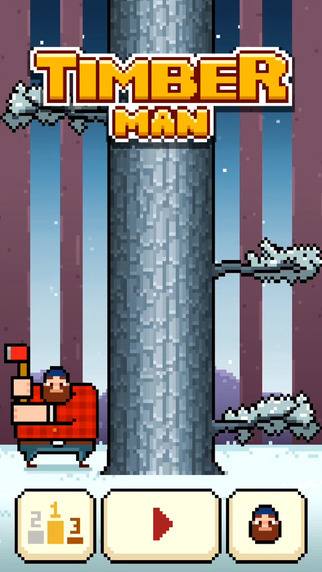
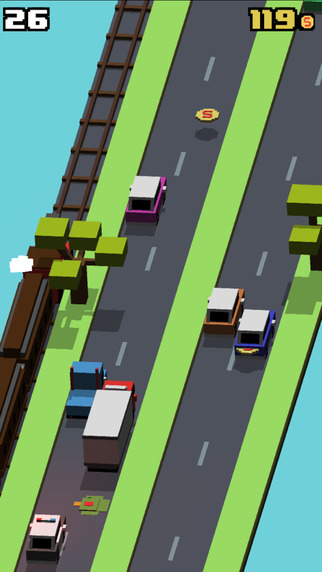
Tapping, "Flappy Style" or Similar Mechanic
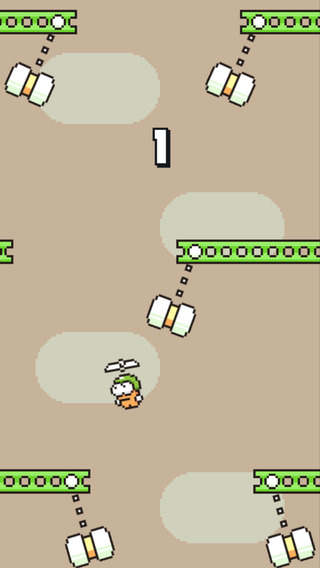
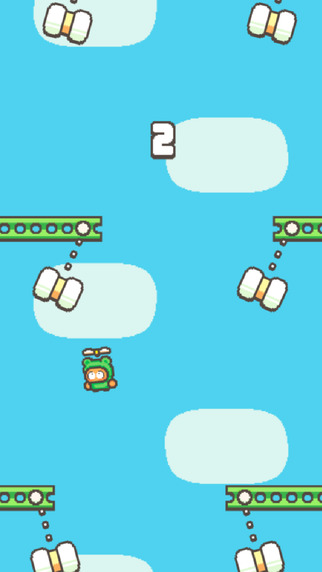


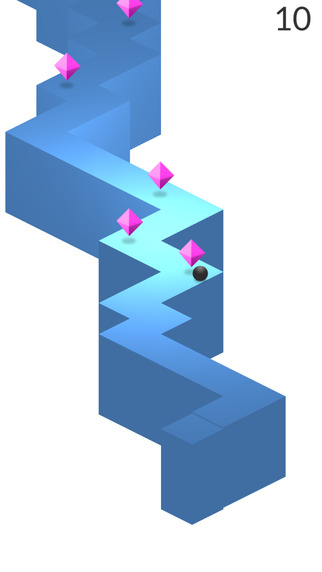
- Swing Copters and Swing Copters 2
- Timberman
- Smashy Road
- Don't Touch The Sides
- Magic River
- Nonsense Fall
- Boxy The Box
- Slow Down
- Twist
- ZigZag
- Other Character/Shape Relationship Projects:
 140
140 Monument Valley
 Meatboy
 Journey
 Thomas Was Alone
Class 5
Additional Reading: Basic Shape and Character

As we begin to work towards our first project, it is important that we also develop our understanding of how basic shapes can relate to character shapes. The above image comes from an article called The Aesthetics of Game art and Game Design written by Chris Solarski (we also have a PDF version available on our course website). In this article, Solarski goes into detail about how the fundamental building blocks for character development are related to the basic shapes Circle - Square - Triangle.
- Circle: innocence, youth, energy, femininity
- Square: maturity, stability, balance, stubbornness
- Triangle: aggression, masculinity, force
If you are interested in the example from our time waster and Solarski's ideas about character design and aesthetic development, you should also consider looking into his text Drawing Basics for Video Game Art. In this book his ideas are developed a little more fully with a focus also on the basics of drawing and observation.
Class 6
Drawing Exercise: Expression Grid
In illustration and character development practices, a common exercise is to explore drawing facial expressions. There are number of ways that the exercise can be done, but the main concept is to sketch small thumbnails quickly with very minimal details (like eyes, nose, mouth) in a way that is expressive of specific emotions. Below is a sample of the grid we will use for our sketches today. You will have a time limit and should try to draw each expression for each of our basic character shapes. Draw only the main facial details in each shape. A reference example for this sort of exercise can be found here.
- Features: Eyes/Eyebrows, Nose, Mouth
- Facial Shapes: Circle, Square, Triangle
- Emotions: Sleepy, Bored, Shocked, Excited, Amused, Furious, Scared, Sad

The exercise will last for about 15-20 minutes. Once the drawing time has passed, we will take some time for you to share your drawings with someone sitting close to you. Compare your work, talk about which sketches express the emotions most effectively.
Project 1 Demonstration and Work Session
This demo will be a very basic overview of workflow for the project. It can be repeated or adjusted as needed depending on your project.
Sketch -> Trace -> Version -> Refine and Edit -> Finalize and Layout Presentation
- Clear sketches are helpful
- Choose from thumbnails and then redraw and clean up your work
- Work General To Specific
- Point-By-Point or Shape Build
- Simple Colors First
- Save Regularly
- Duplicate Layers/Groups/Etc As Much As Possible
- Symmetry by repeating a path, symmetry can help develop character proportions and unify a design
- Trace with Pen Tool one half of shape
- Copy/Paste that path
- Object -> Transform -> Reflect
- Align as needed
- Direct Select anchor points to be joined
- Object -> Path -> Join
- Use shapes to get generalized or basic form: either point-by-point or shape build
- Pathfinder - Unite and Minus Front (or others as needed)
- Direct Select on corner anchor points - 'rounded corners' handle
- Convert anchor points
- On anchor eliminates one or more bezier curve handles
- On bezier curve handle allows angle corner with curves
- Direct Select a shape give Smart Curve options
- However you choose to build, work in layers
- Start with base, silhouette, or positive space first - this is a "fill"
- Details like contour line, color, or texture should be built on top
- This could still be considered a sketching stage - to see what happens
- Make alternate versions by duplicating
- Add Layers, Subtract Layers, Reshape Paths in duplicated layers
Project 1 Work Session
With the feedback you received earlier in this class sessoin you should have some additional ideas to add to or modify your sketches. Use your studio work time today to begin moving between physical and digital sketching. It is likely that you will build your character multiple times - working with vector graphics to illustrate a concept can also be a lot like sketching in your sketchbook. Remember: you can always copy work into a new work file if you need to isolate and refine something or to move forward after making design decisions for the project.
Informal Project 1 In-Progress Critique
Share your preliminary work with other people in the class. This will include your sketches and drawings. If you did any sketching digitally, then you will want to print on the lab laser printer - but most of the work should be in your sketchbook and easily portable. You will be moving around the room and will need to take your sketches with you. This is an opportunity to express both visually and verbally what you are hoping to do with your work for the project. We are in a very early stage of the project and it should be helpful to get feedback as you begin moving forward. To get information from as many people as possible, you will meet one-on-one. Each person will share their project. Then, after a few minutes, you will rotate to meet with another person. The format will be similar to Speed Dating or Elevator Pitches.